You may have seen some of the items that I now have for sale on
Rebejoo's facebook page - if so, you might be wondering how they are made... Some are pretty straightforward, others really not, but I thought I give a little insight into how recycled/reused bits of metal are turned into (I hope) interesting and wearable jewellery - first of all, materials...
 |
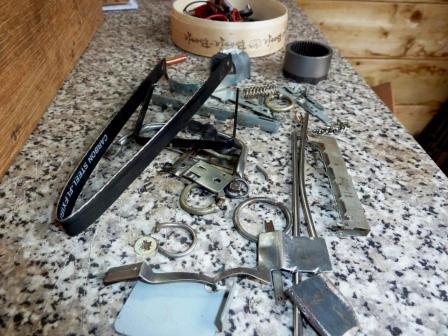
| A selection of scrap metal to choose from. |
As you can see, there are all sorts of things here - springs, split-rings, odd-shaped bits & bobs, a dead hacksaw blade, thick wire - some will get used, some won't and there'as always more around. So, the first step once enough materials have been gathered is to get some ideas and begin assembly, and possibly cut and drill some pieces to fit (like the steel frame in the piece below). Then, when the basic design is in place, the fun starts as the blowtorch is applied!
 |
| Heating the newly assembled piece. |
Now, it generally isn't as simple as heat-it-and-hit-it; if it was, everything would cost a fiver... It's rather tricker than this - for example, in this piece, the wire heats more easily than the frame, but the frame needs to be heated and worked without melting the wire or the brass tube you can also see in the middle. Tricky - and I'm going to leave you to wonder about that - it would be boring if their was no mystery, wouldn't it ;) Anyhow, every now and again, the piece needs to be cooled...
 |
| A partly worked piece bathing in the quenching tank |
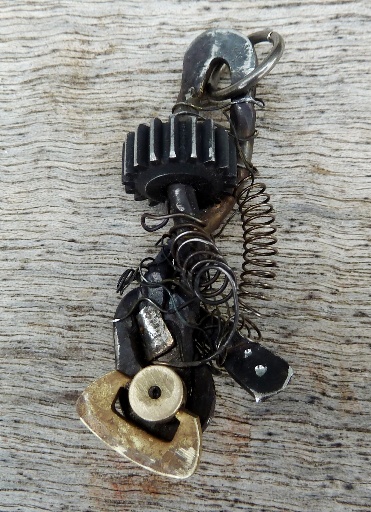
This aspect is easy - dunk it in some water and enjoy the hissling... You can see the wire has blackened (it's steel and this is blacksmithing albeit on a small scale), and the brass has darkened, plus the frame has been crimped to hold the wire. After this, there are more stages - generally this is when the fiddly secretive bits happen, after which there is some light polishing (no more than enough to bring out the contrast while keeping the handmade feel, hammer-blows an' all), and a ring is attached for the chain or cord. Then, ta-dahhh! the finished item, in this case, the '
Raygun 2' pendant, complete with spring and screw-head. Enjoy!
 |
| Raygun 2 pendant |

